Calibrate my printer
A guided, ordered calibration plan for YOUR printer and slicer — plus our own small test print that the AI can read from a photo. This page is unlisted: please don’t share the link publicly yet.
The plan — in this order
Order matters: flow before temperature, temperature before pressure advance, retraction last. Each step: what to print, what to look for, where to enter the result.
The shortcut: print our test model, let the AI read it
One ~30 min print (measured: 28m38s / 7.66 g on an X2D) that probes first layer, stringing, overhangs (30–75°), seam, bridging and top surface at once. Photograph it, upload, and the AI knows exactly what sits where — so its findings map straight to settings.
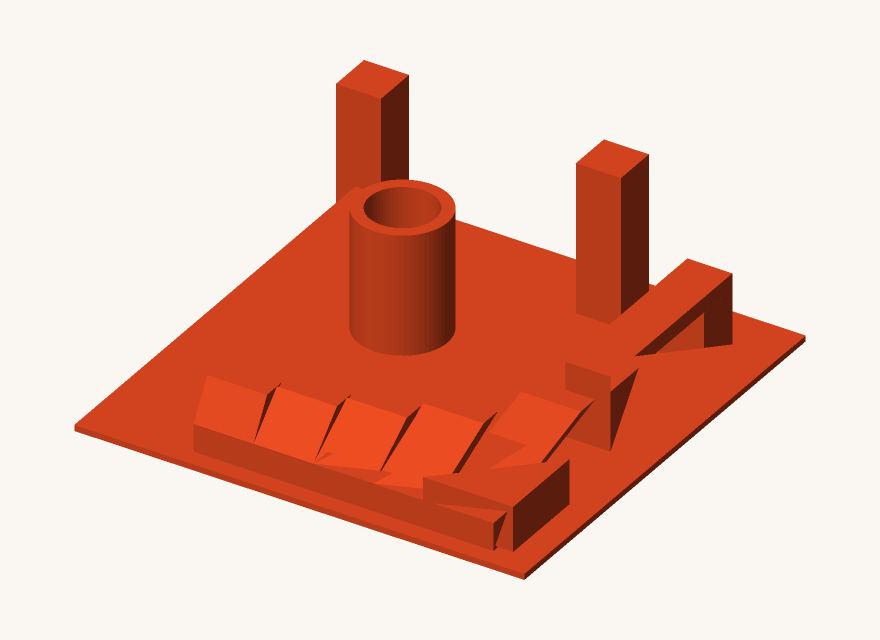
- Download the test model (.stl) 60×60 mm · ~8 g · print flat, no supports, no brim, 0.2 mm layers, default speeds. Set seam position to Aligned (Bambu/Orca) or Rear/Back (PrusaSlicer/Cura) — the seam tube is read along one line.
- Photograph it: one photo top-down covering the whole plate, in good even light. (A second low-angle photo from the front-left corner helps the overhang reading — select both photos below and they go into ONE analysis.)
- Upload one or both photos here: